Cow Cereal Bowl! |
How do they relate? Breakfast!
|
Fruit Colander Bowl! |
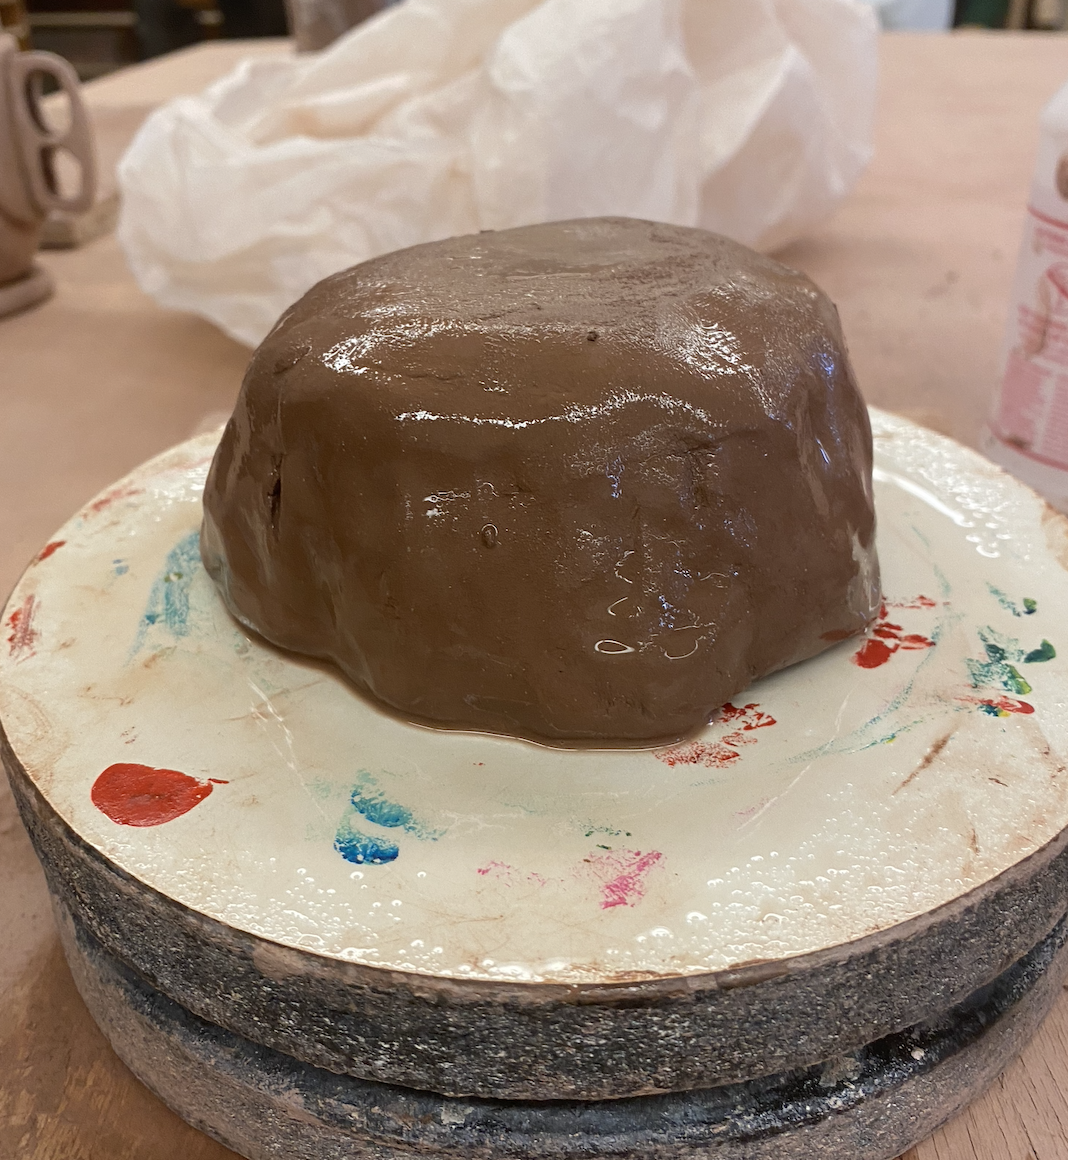
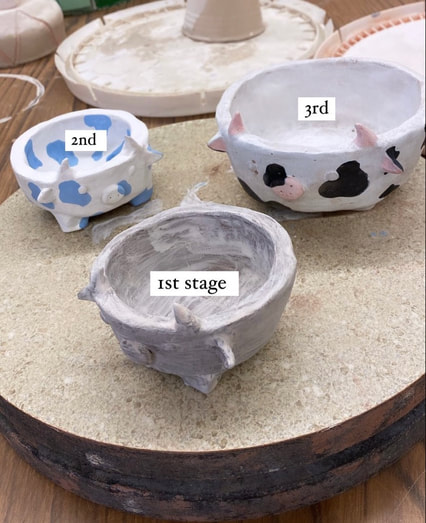
To begin my bowl I started with a lumpy pinch pot. Over time I smoothed and rounded it. I also built in some extra clay to get it ticker in parts that weren't even.
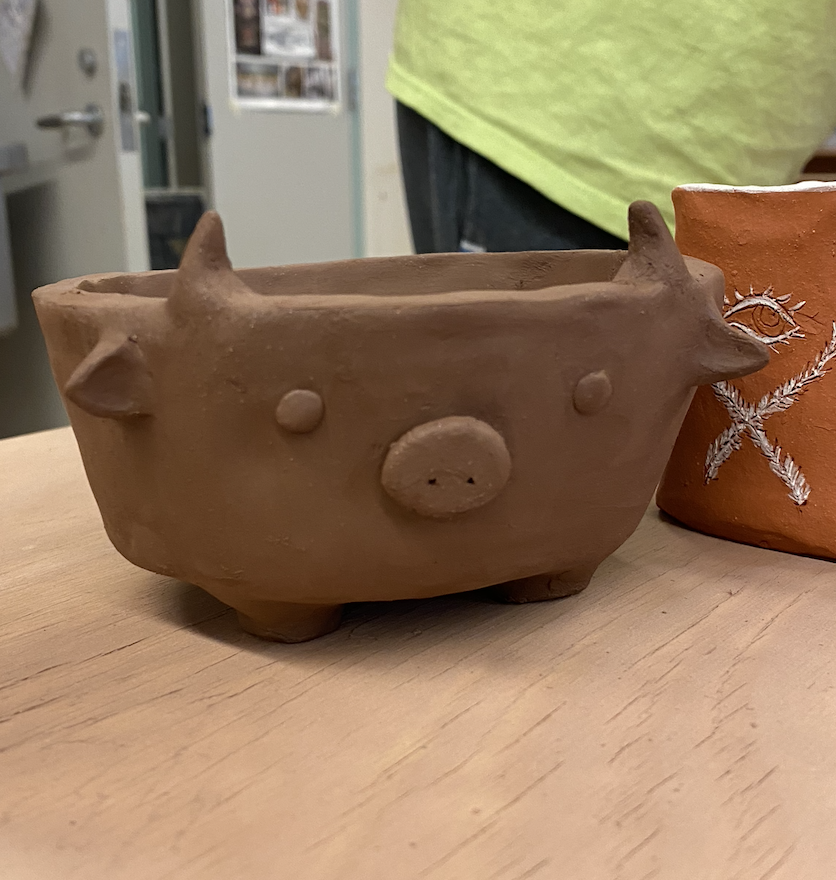
After a day or so of letting it harden and up and dry I began to smoothen it all out so it would be ready for glazing.
It then was clear glazed and fired for the final look! I can't wait to use it.
|
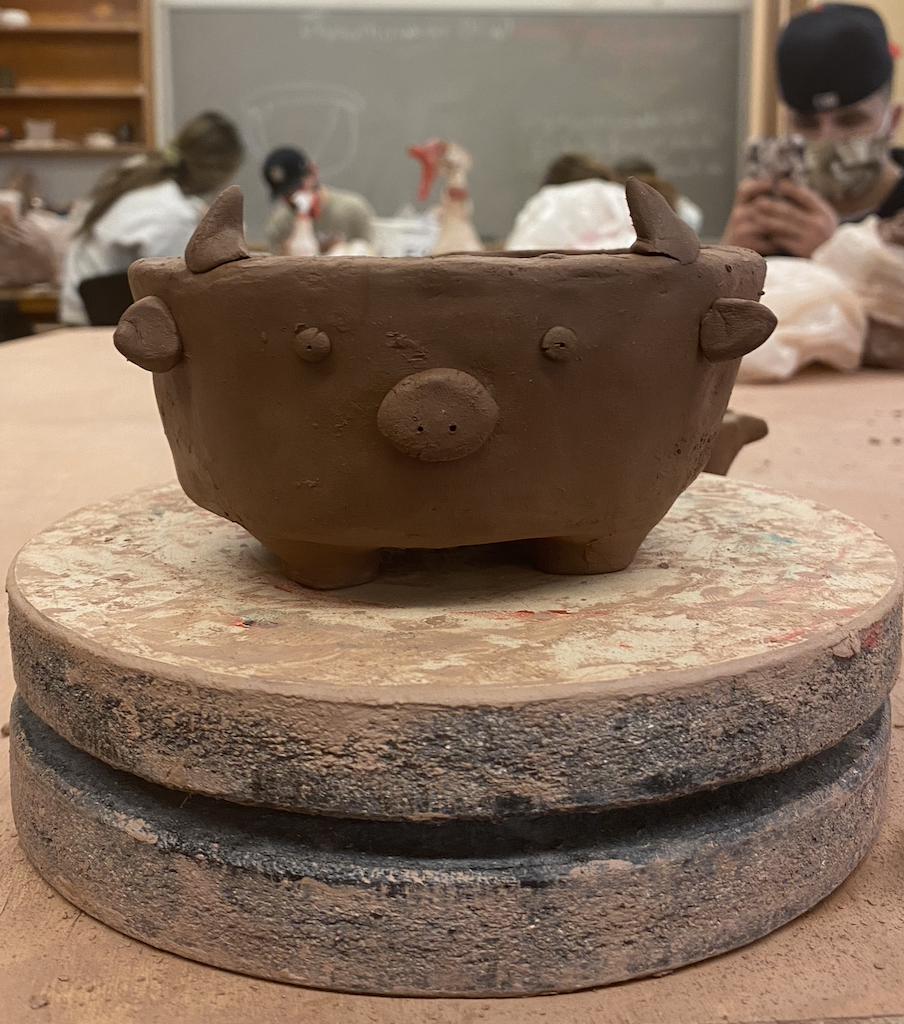
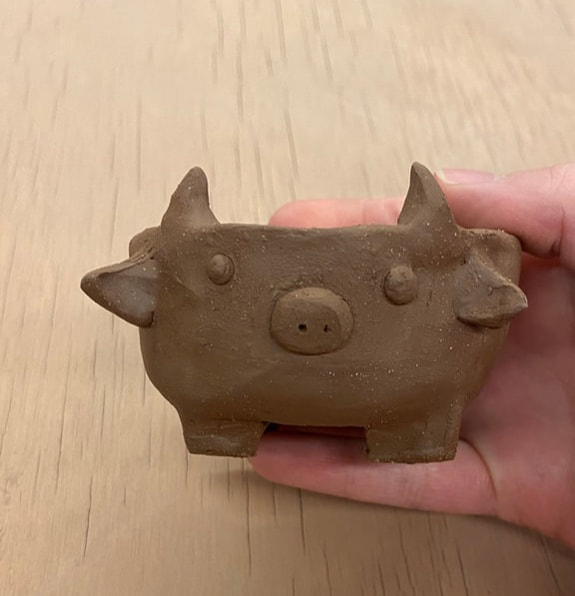
Once my bowl was structured, I began to add the cow features to it.
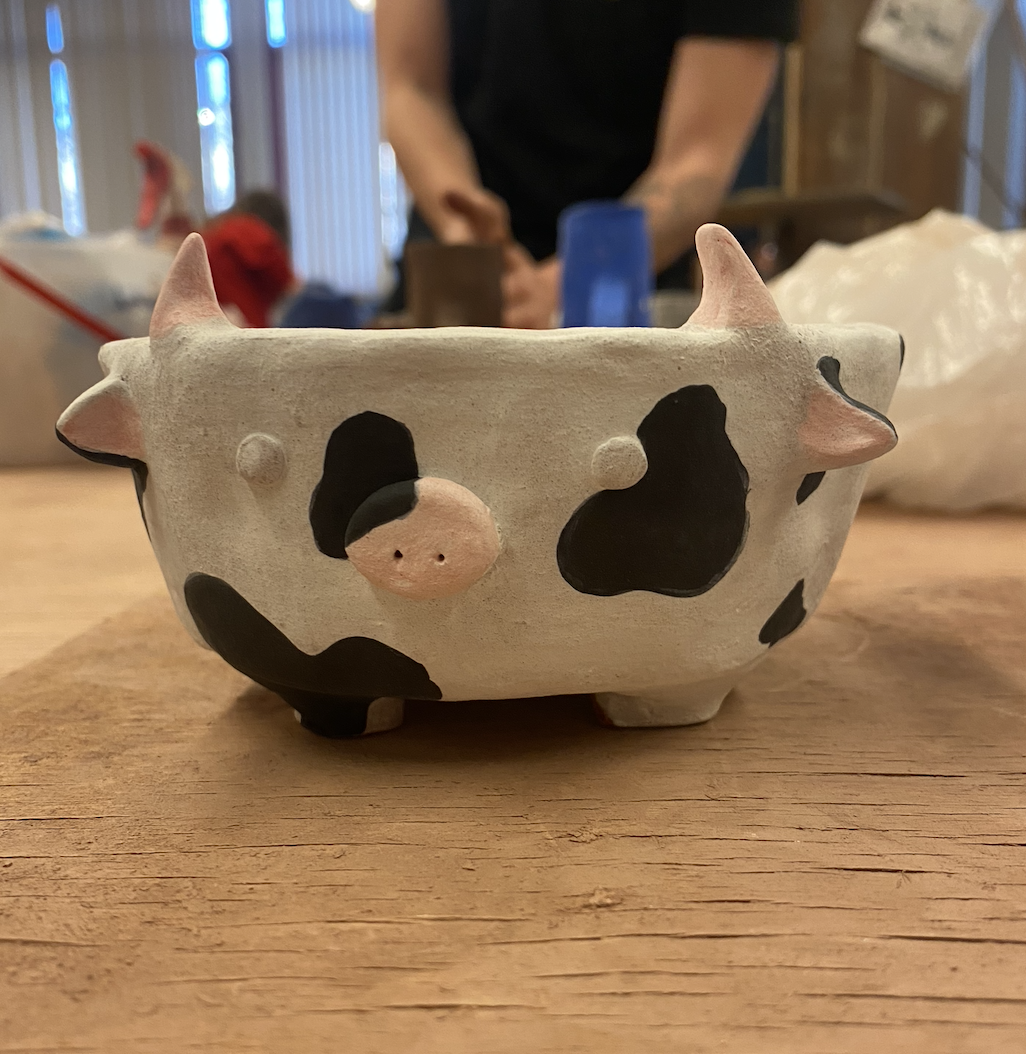
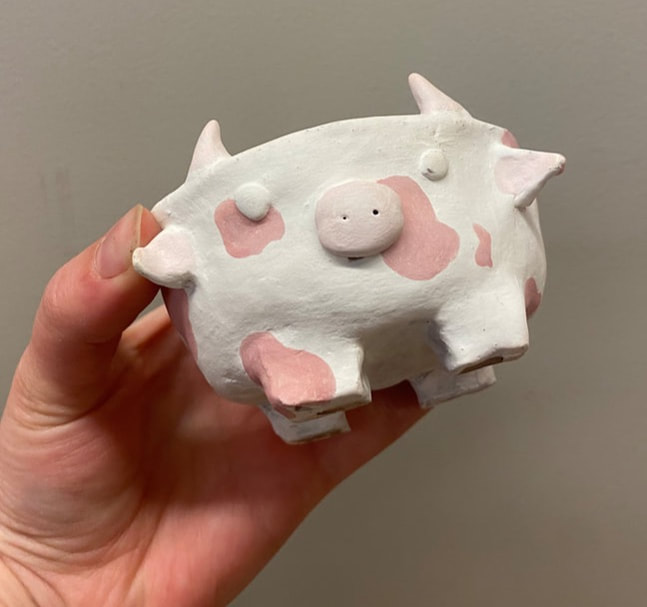
I really started to understand how glazing worked. At first I applied 3 layers of white underglaze to get it even in all areas. I then went in with the black spots, and mixing red and white I made pink for the cute nose, horns, and inner ears! This quickly became my all time favorite from the collection
|
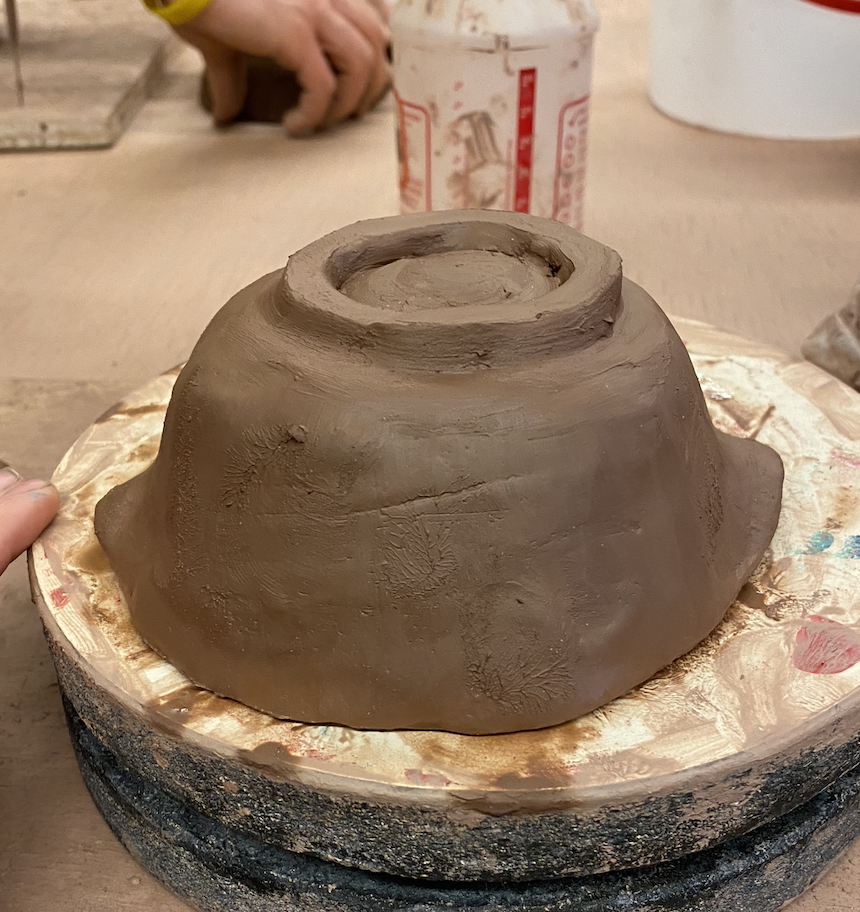
Unfortunately I got a bit ahead of myself for this second bowl when it came to taking progress pictures. However like the first bowl I started with a pinch pot and then added the base as well as little top handles/finger grips.
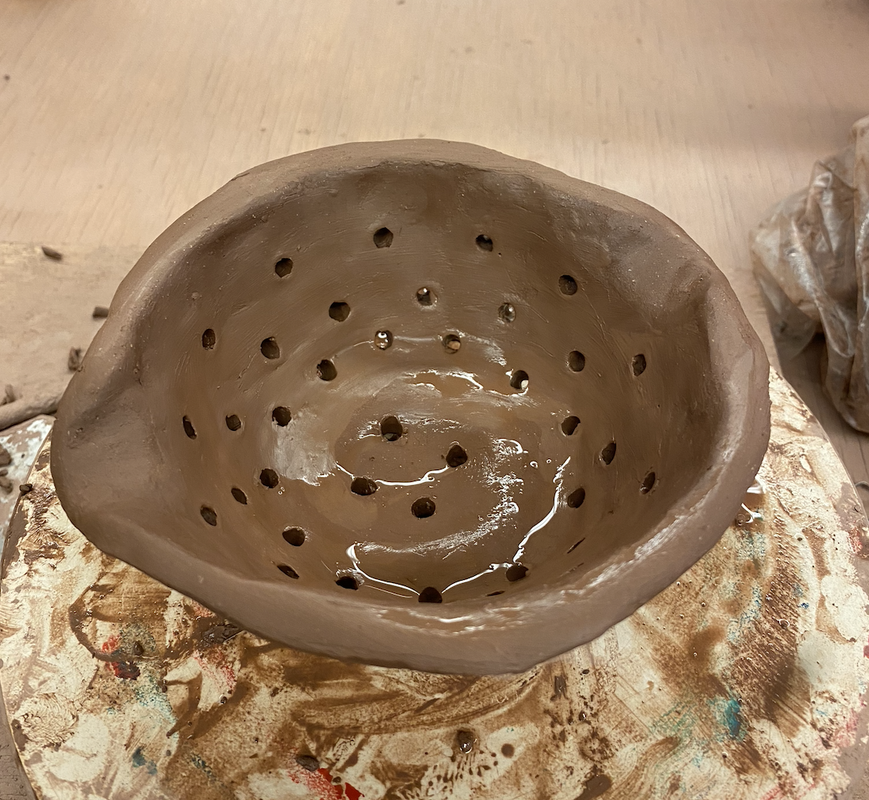
I decided my holes were a bit small so I went in with a new tool and scooped out the areas opposed to poking.
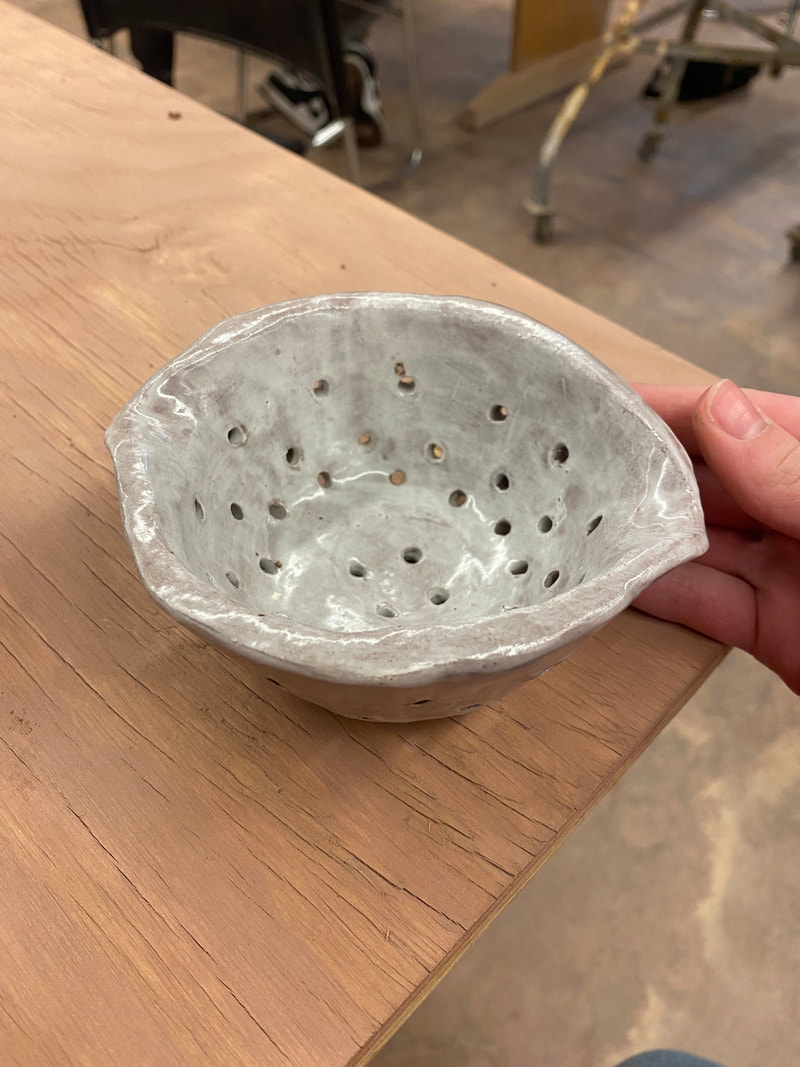
Once glazed this was the final outcome! Glossy like fresh washed strawberries on a summer morning
|
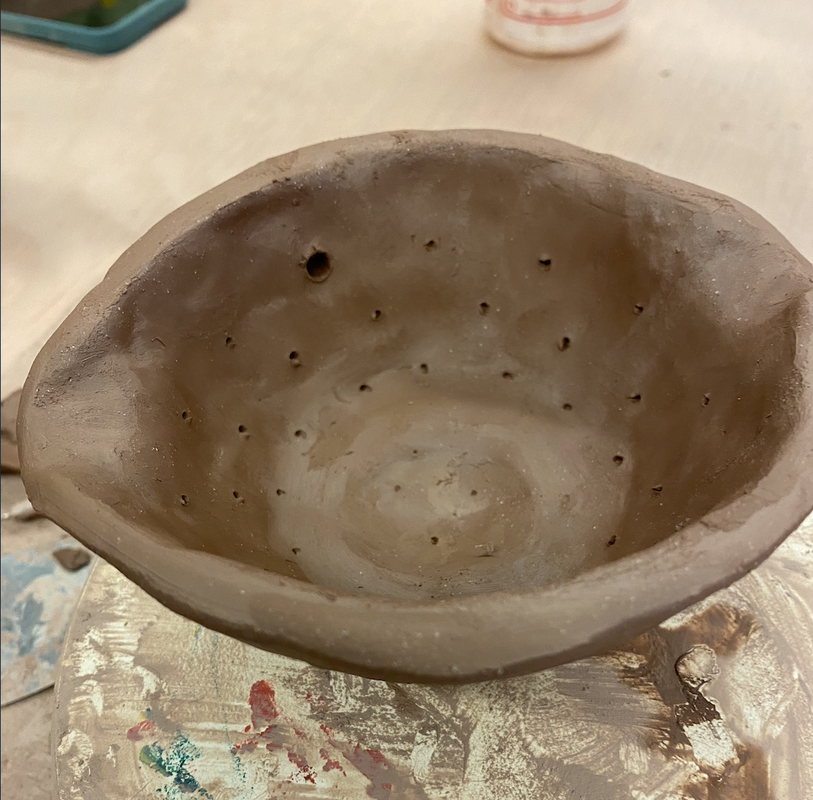
Once shaped and cleaned up I began poking in holes for my fruit colander! This took a few rounds of poking.
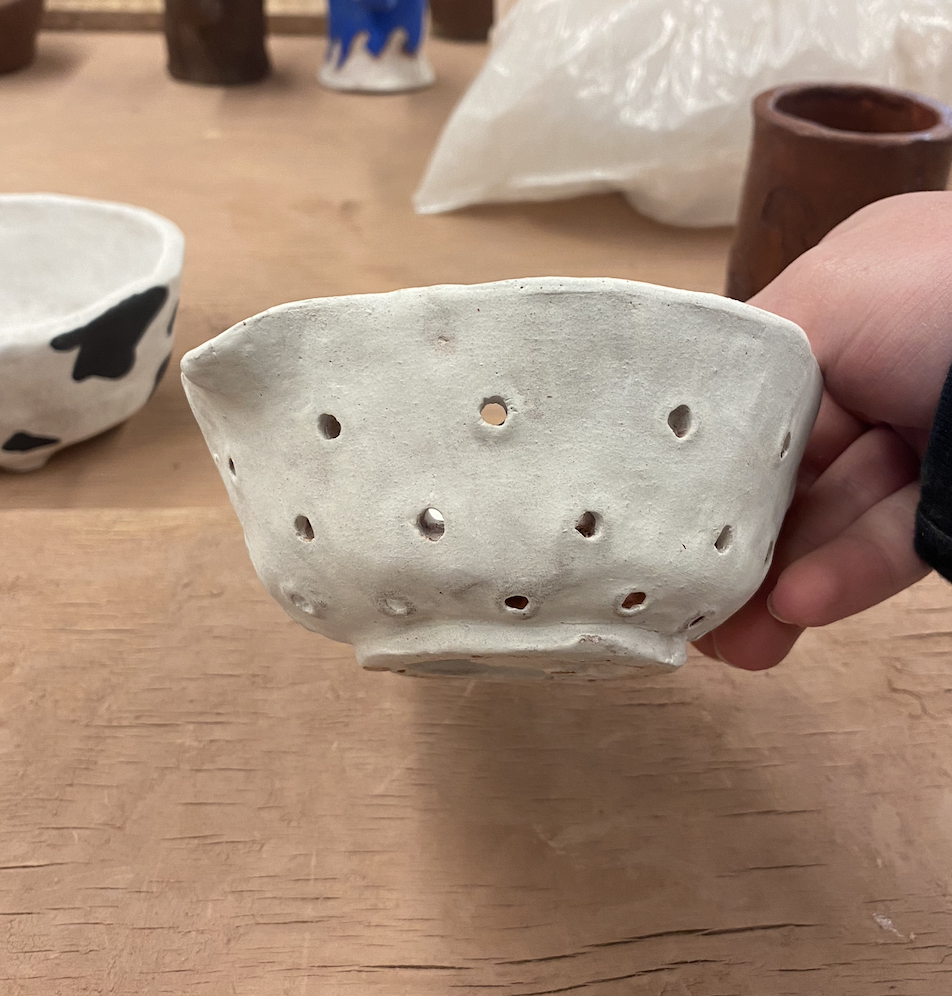
Once the holes were to my liking I dipped it into the white glaze in order to achieve a solid color.
|
Bowls That relate: Part 2 The final!!
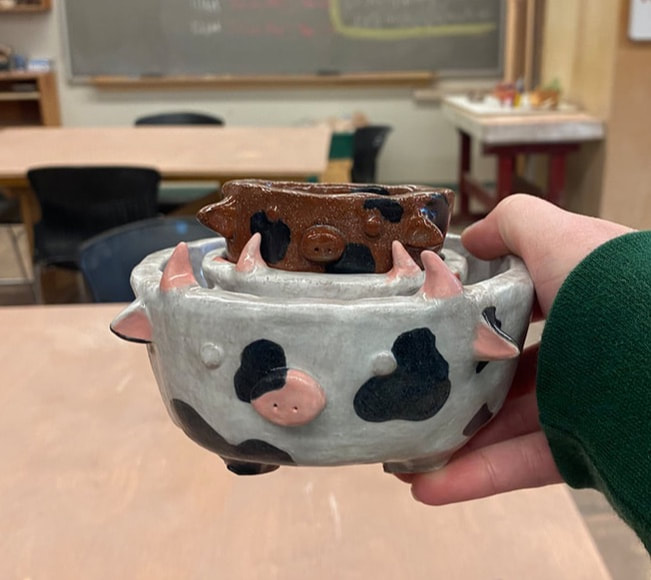
How do they relate? COWS, COWS, COWS
|
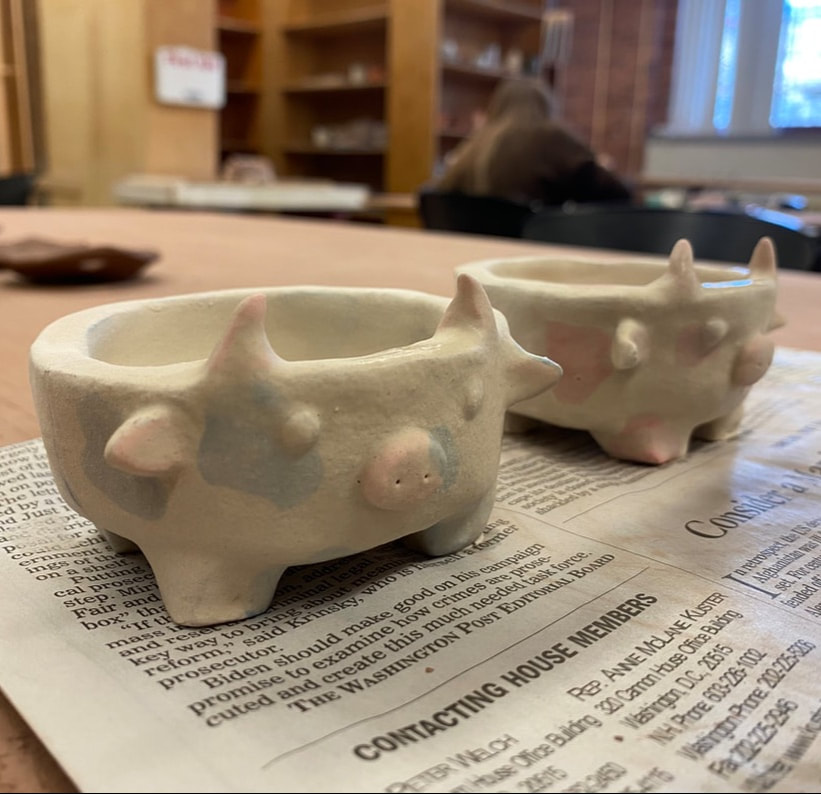
Finals? That means crunch time... anddd I forgot to take more process pics. But I think the picture to my left fully encapsulates the process. Since we already saw the 1st mama cow bowl then we already know the process was the same! This time around I made 2 baby cow bowls. They nest perfectly inside the large mama cow. I went with a blueberry cow and a strawberry cow to keep in theme ;). The cows are my favorite hence why I made several.
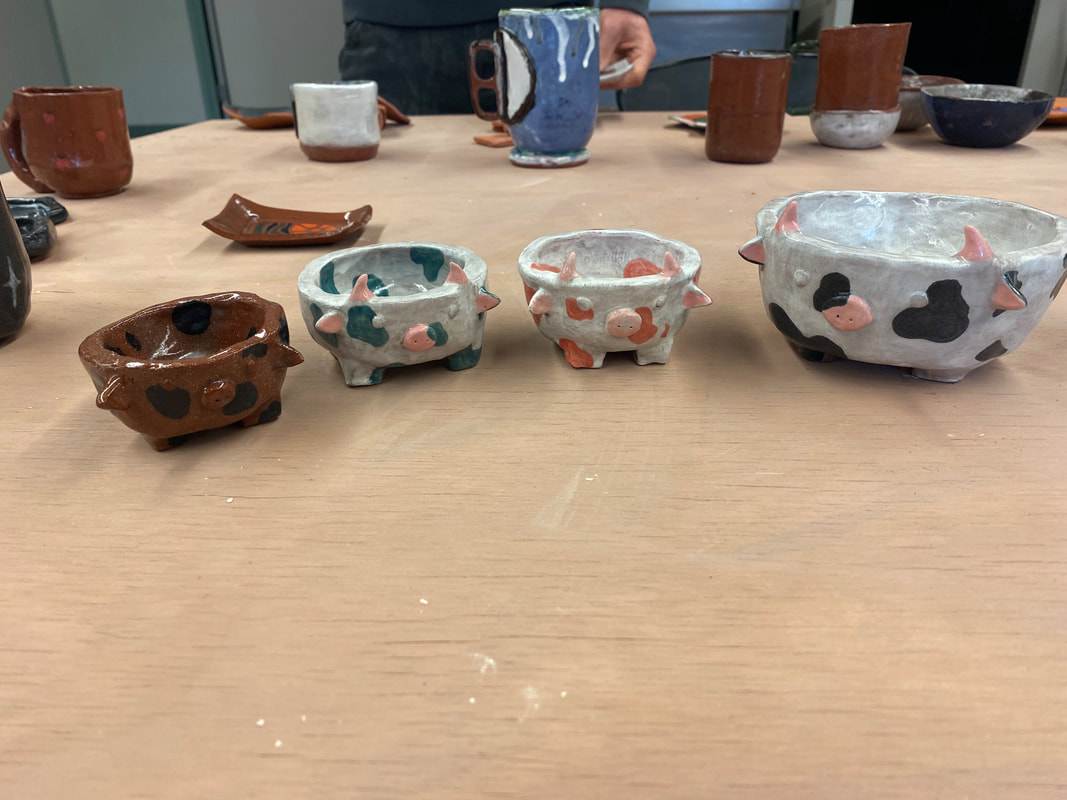
Here is the final look of my baby cows!
|